
Floor stickers also known as floor decals can be used a variety of ways! They are made out of 3.4mil vinyl, printed with UV cured ink and are slip resistant, made to withstand harsh weather conditions.
Below are some other ways they can be used:
They can be used as decorative floor stickers
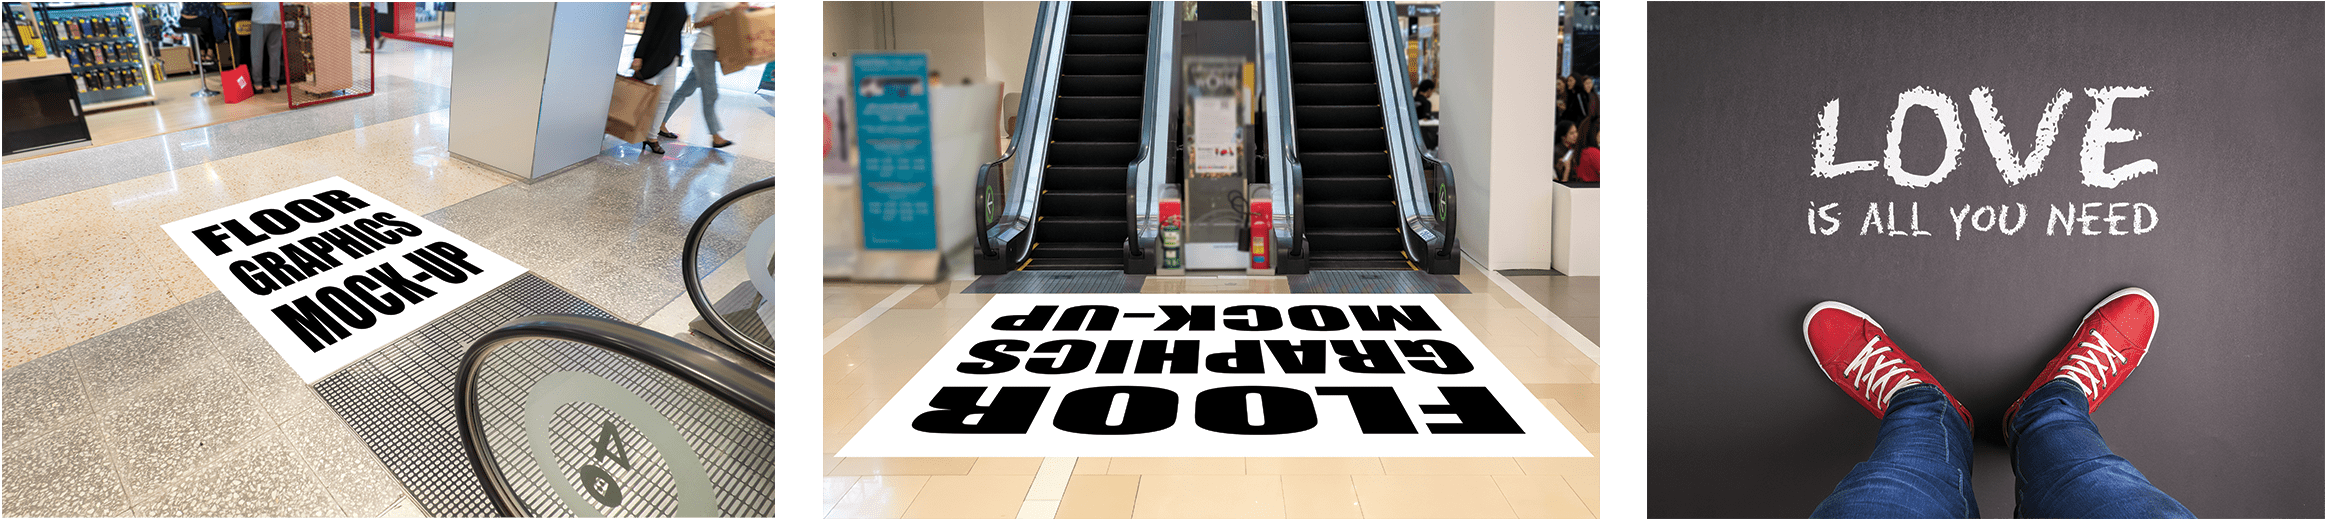
Floor stickers for social distancing
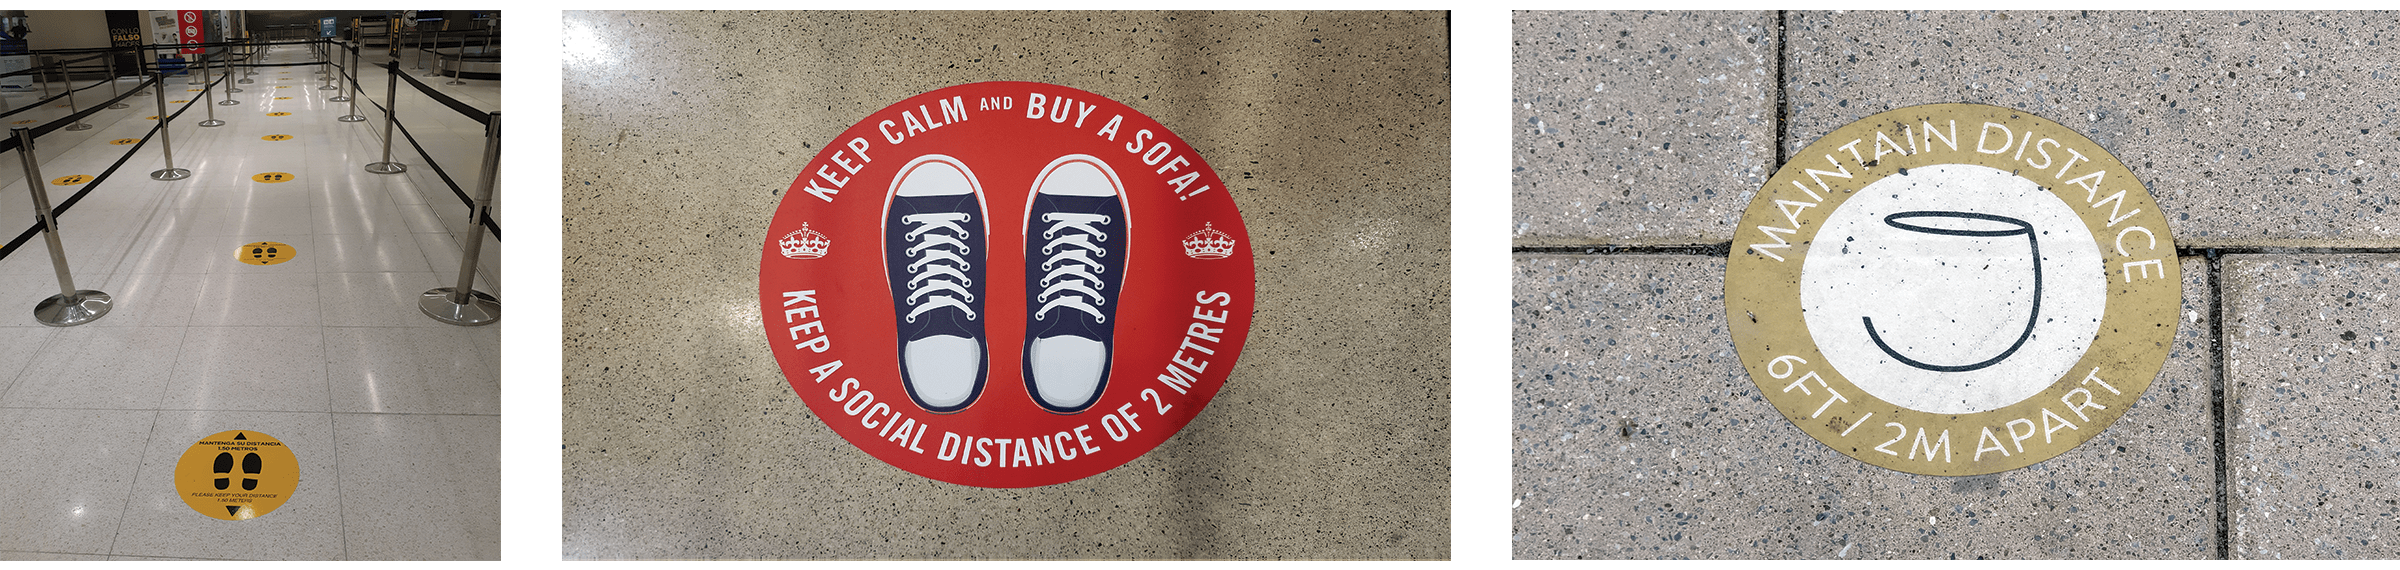
What are some common uses for floor stickers?
These can be used to provide directions, direct the flow of people walking, or as graphic art. Floor decals can be customized to specific shapes and be installed on surfaces like sealed concrete, laminate floors, tile (without going over grout lines), and hardwood floors. They are typically used in stores, restaurants, warehouses and even in houses. We recommend before installing, the surface be prepped by cleaning it and allowing it to dry prior to placing the decal, that way the decal lasts longer.
Below are some picture examples of surfaces our decals can be applied to:

Floor decals will not work on carpet, however we do have carpet decals that will work on low profile carpet and they can be purchased here /carpet-decals
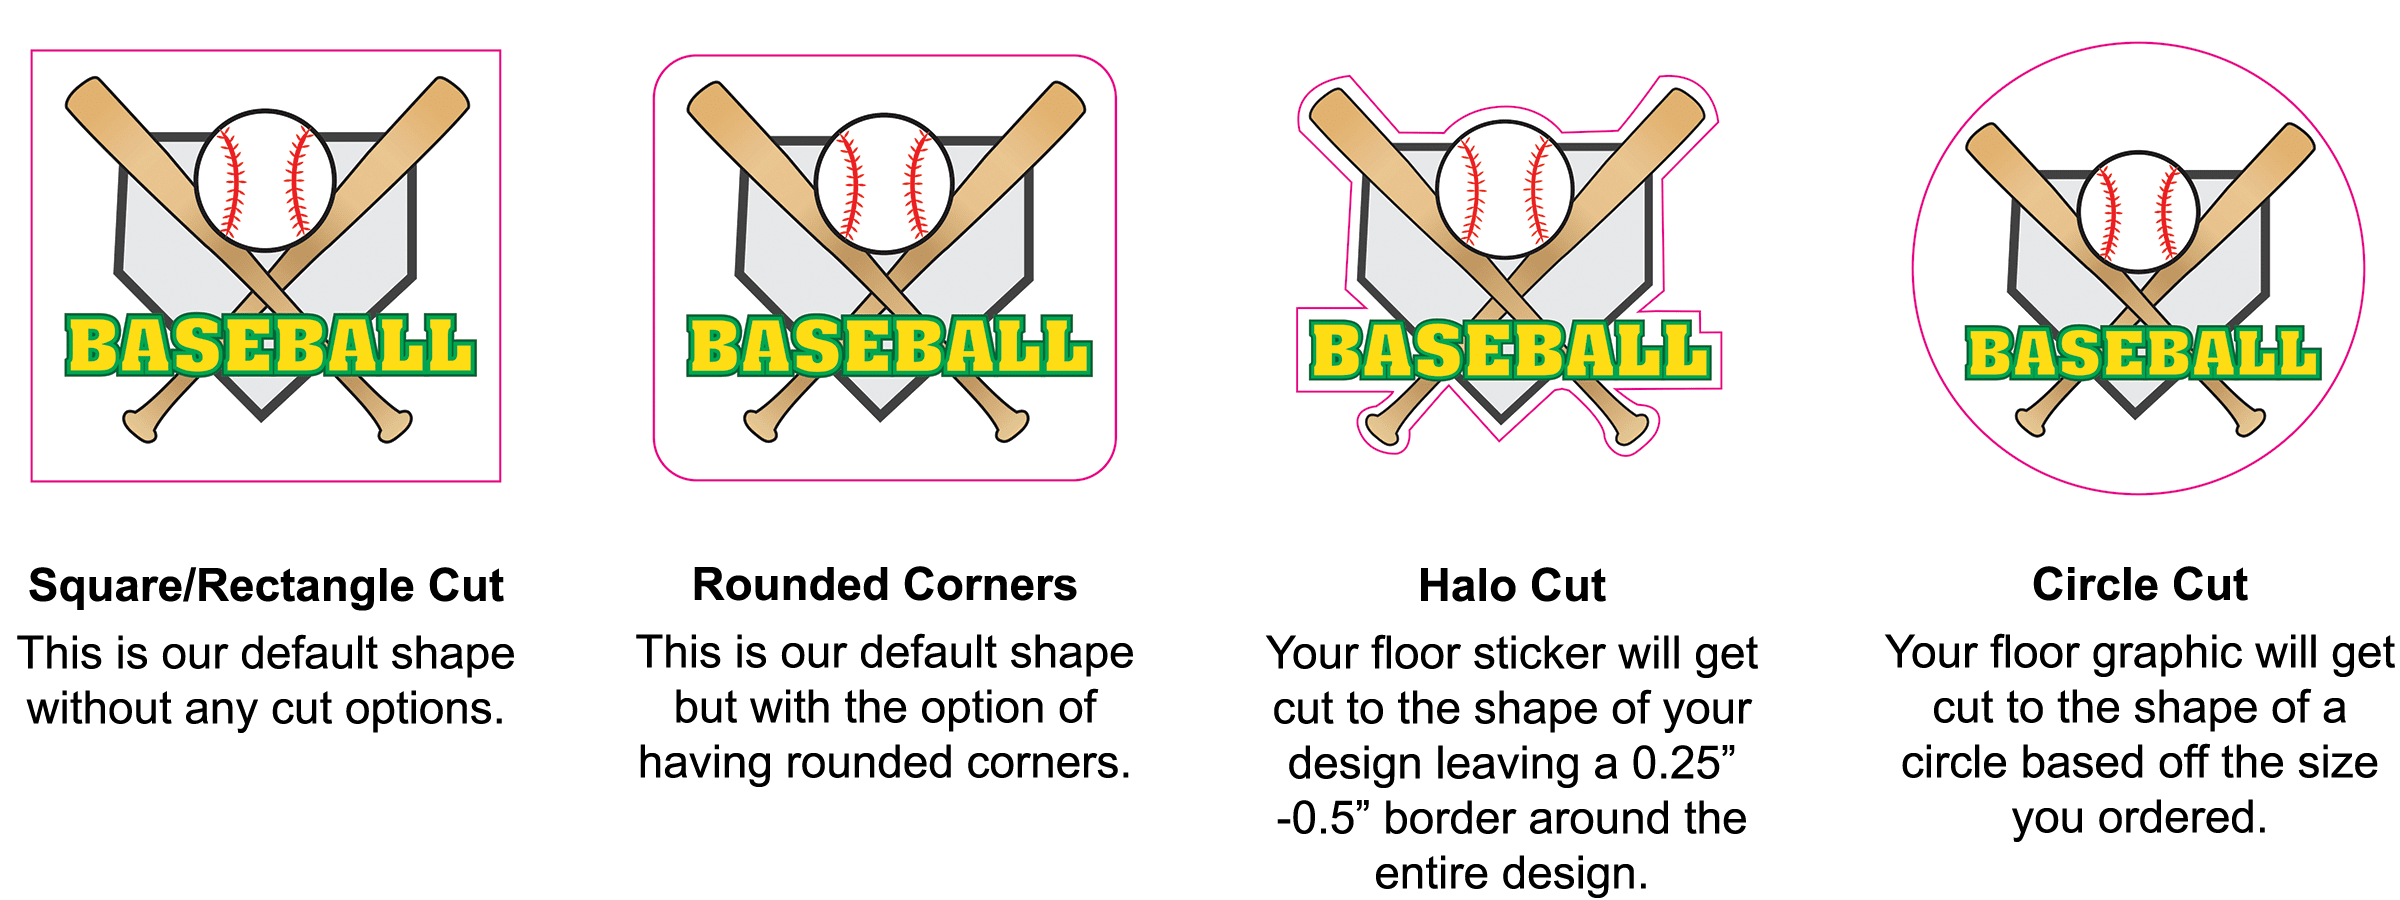
Below are a few examples of the different custom cuts we can do.
What is the lifespan on your floor graphics?
Our vinyl floor decals can last on average 6 – 12 months in high traffic areas, and typically 2-3 years in areas with little to no traffic. These cannot be repositioned or reused so make sure you are applying your decal in the area you intend on putting it.
Next we would like to go over how to install your floor sticker
Make sure the surface is a smooth surface like hardwood, tile, laminate, or sealed concrete.
Lets talk about prepping the surface.
- Make sure you sweep the surface so there is no debris or dust. If the surface is not clean and has any stains, use a commercial degreaser to get rid of any stains.
- Make sure the surface is dry and avoid putting your decal over any dirt, oil, or grease etc.
Now lets go over applying the decal
- If you have a large decal, it should be installed with another person. Make sure your surface area is dry and debris free. Start at the top of your decal and peel down about half an inch of the white liner.
- Place your decal down (starting with the top) making sure it is aligned properly. Use a squeegee to slowly smooth the decal onto the surface while also continuing to peel the white liner. Make sure you don’t get any creases in the sticker while using the squeegee.
Your floor graphic should adhere right away, but we recommend pressing firmly to make sure it sticks to the floor. Once done it will be ok to walk on however do not try to clean your floor graphic for at least 24 hours after applying it.
Below are the steps to removing your floor decal
Begin by lifting one of the sides then peel the decal at an angle until it has completely lifted off the surface. It could take a little more work depending on the type of surface the decal was placed on as well as how long the decal had been applied. If it was within 6-12 months of being applied it should be fairly easy to take off, if it had been on the surface longer than 12 months it may be a little more difficult to remove and, in some cases, it could leave some adhesive.
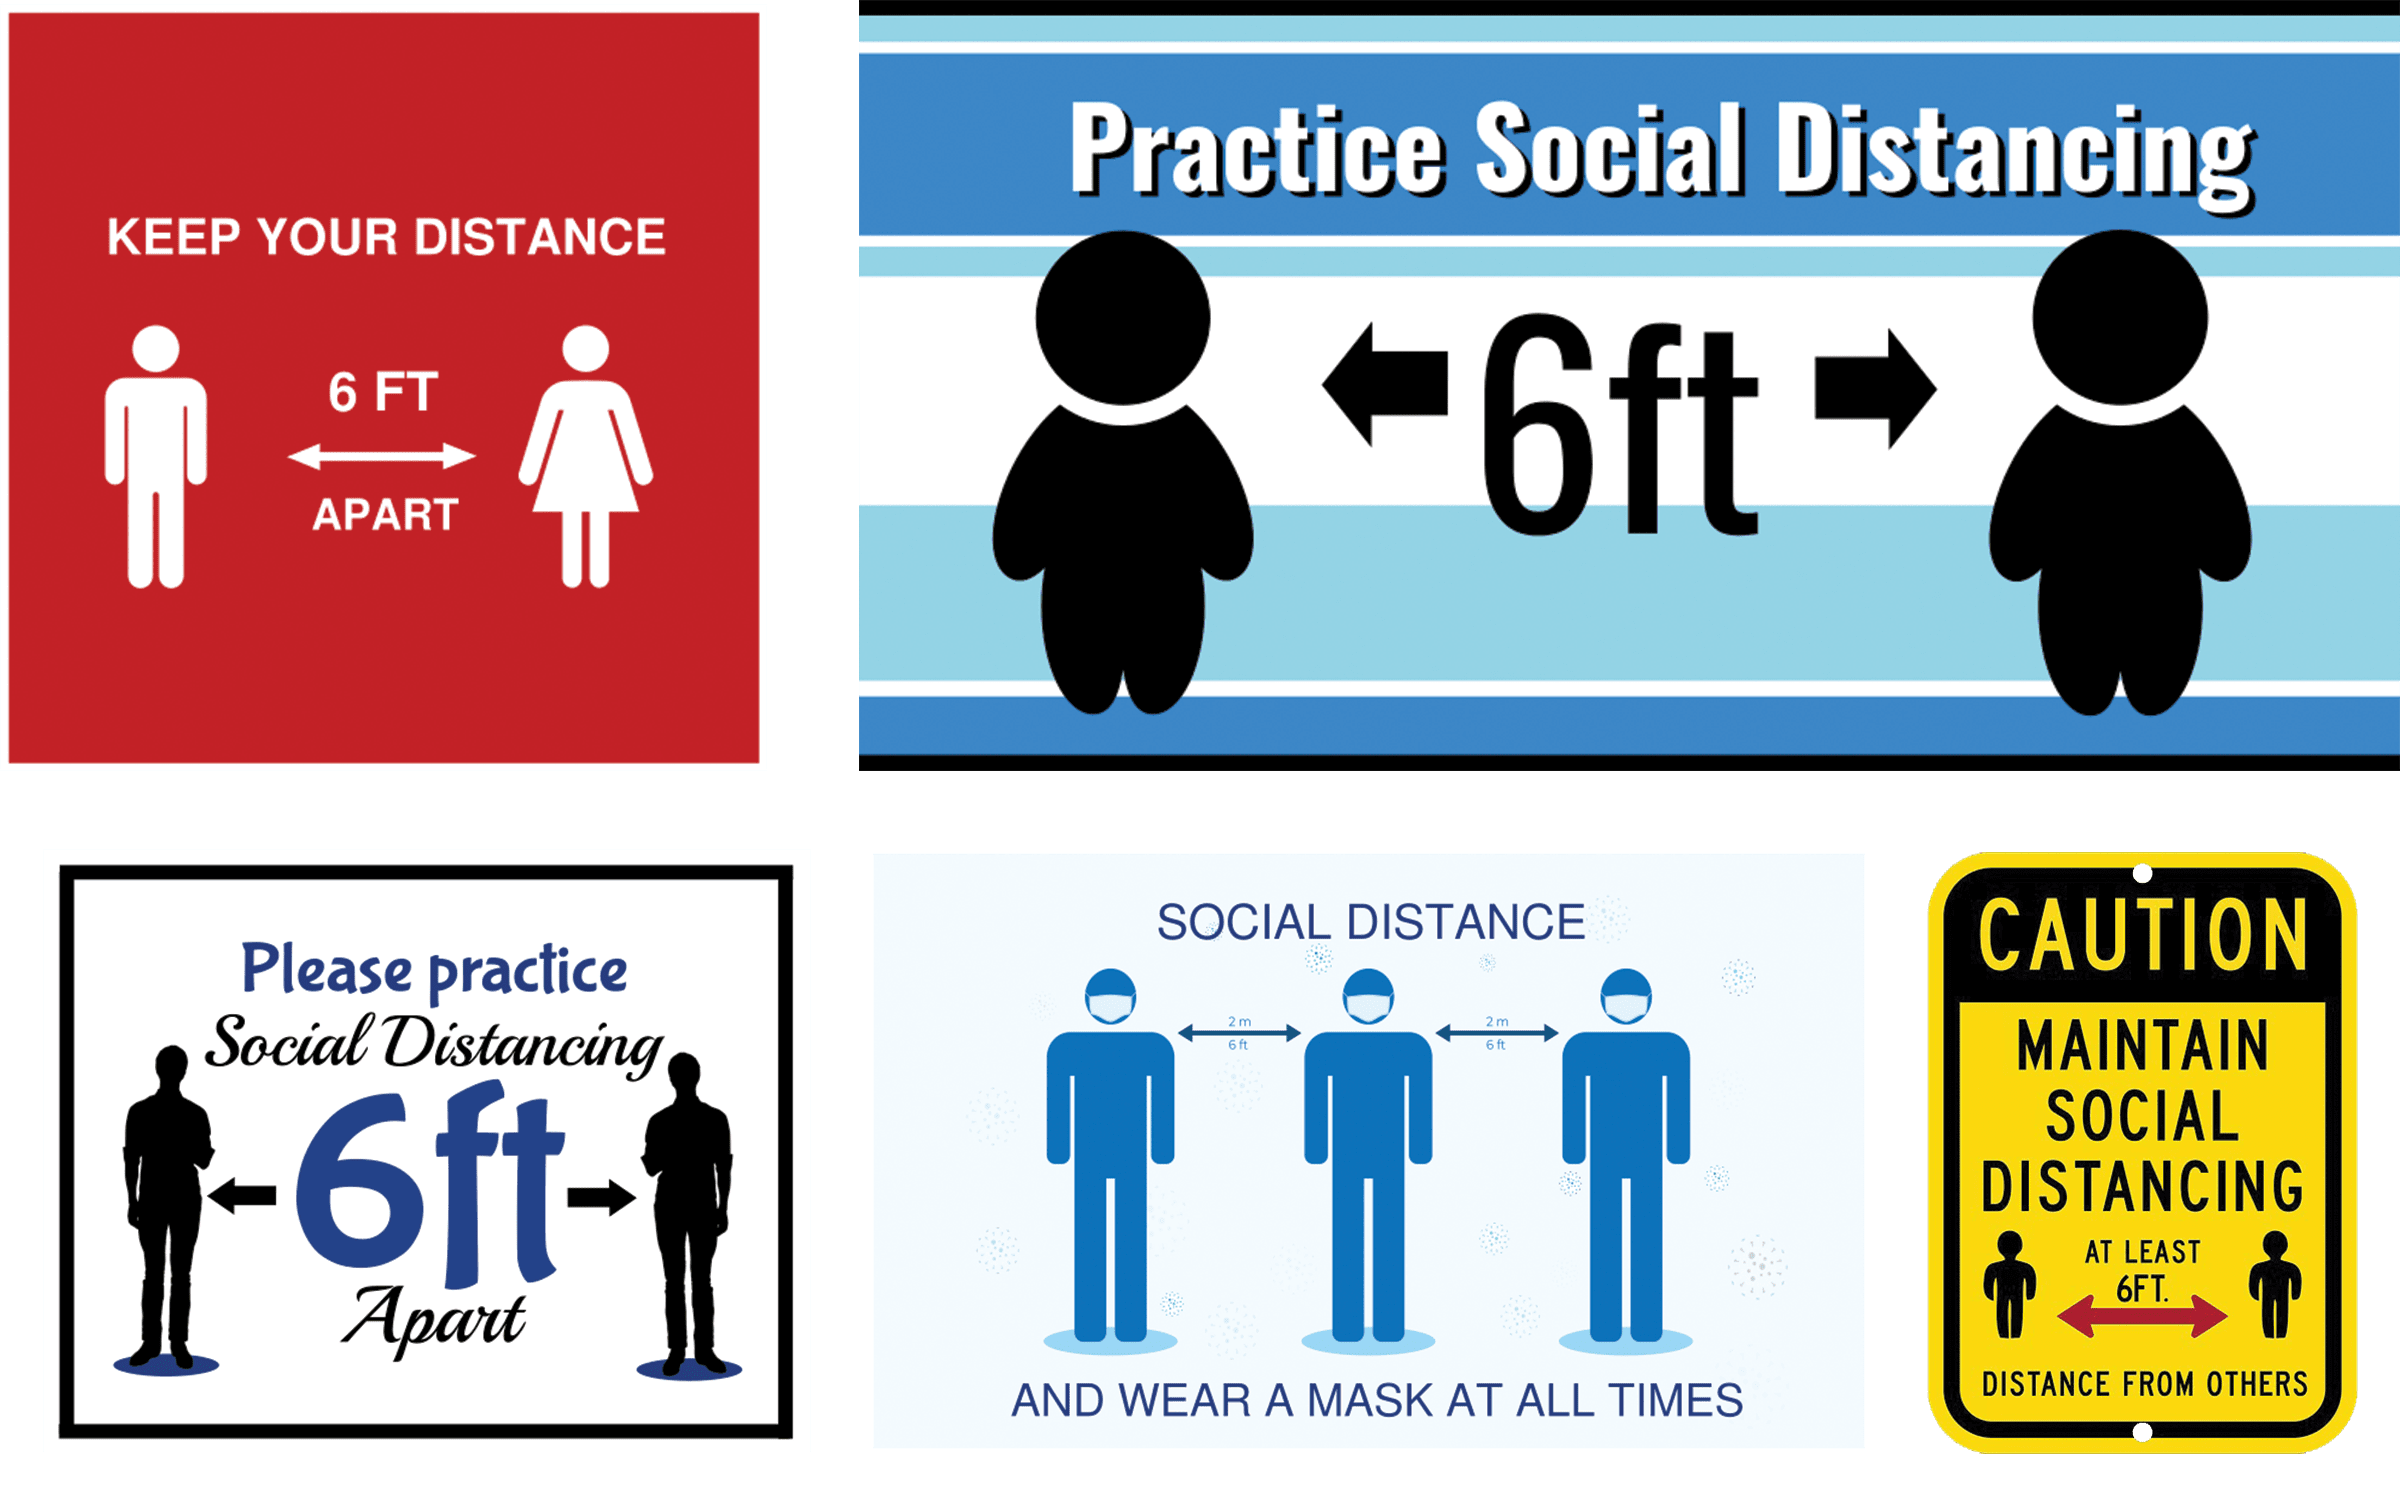
Need a template? Click below to go to our ready made templates!
0 Comments